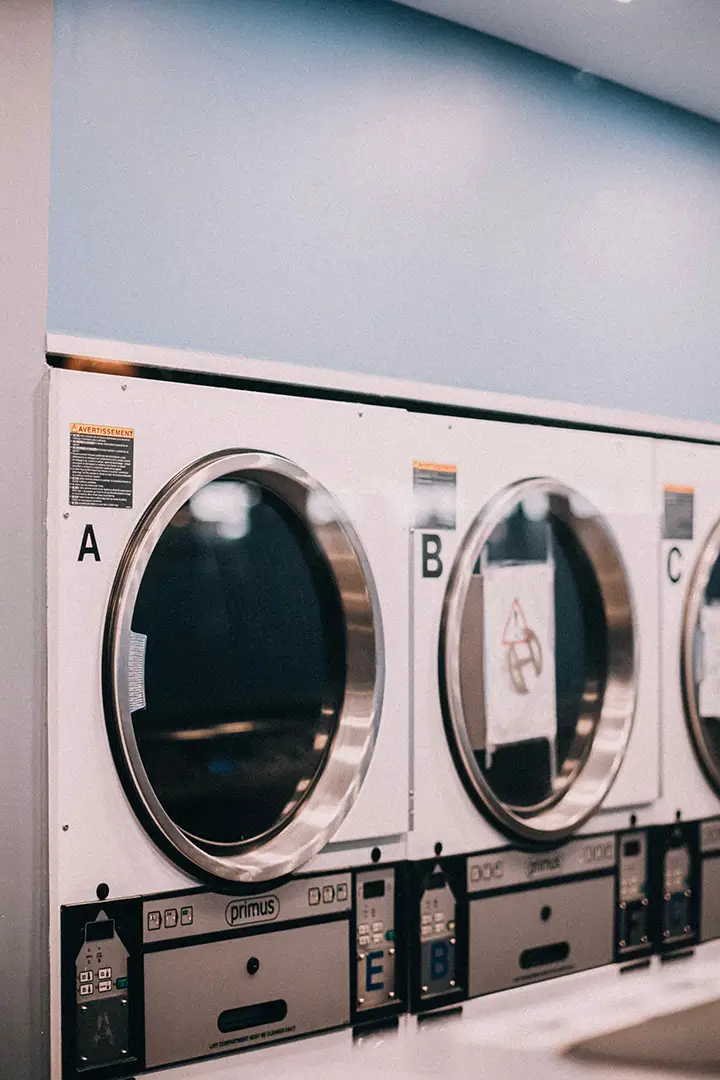
Solving a Broken Dryer Handle
Nobody likes dealing with a broken dryer handle - it can be both a hassle and a safety risk. But don’t worry - the problem can be easily fixed, and you don’t necessarily need a professional to help with the repair. In this blog, we’ll explore the simple steps you can take to replace the broken handle and get your dryer back up and running in no time.
When it comes to fixing a broken dryer handle, the first and most important step is finding the right parts. You can purchase a new handle from an appliance parts store or from the manufacturer’s website. Be sure to get the exact model number of your dryer to ensure you get the correct parts.
Once you have the new handle, it’s time to start the installation process. First, disconnect the power to the dryer - either unplug it from the wall, or turn off the circuit breakers for the dryer. Then, take off the dryer door by unscrewing the hinges or twist-tabs that hold the door to the front of the dryer.
Once the door is off, remove the old handle. This is typically done by removing the screws that hold the handle in place. Next, attach the new handle to the door, using the same screws you used to remove the old handle.
To finish the repair, reattach the door to the dryer. Put the screws back in the same place they were when you removed the door, and then reconnect the power. You now have a working dryer handle!
Fixing a broken dryer handle is a relatively simple repair that anyone can do. By following these steps, you will soon have a working dryer with a new, safe handle. But if you need any help along the way, you can always check our Appliance Repair Directory - Christchurch. Our directory provides you with access to professional repair specialists in your area who can help you get your dryer back in working condition.