Simplified Guide to Heat Pump Part Replacements
Heat pumps are a reliable way to heat and cool your home, but part replacements may feel intimidating for the average homeowner. Don’t fret! This blog aims to demystify the process of part replacement for your heat pump and provide the guidance you need to make the right purchase decisions.
When it comes to replacing parts in a heat pump system the most important thing is to make sure that you buy the right parts. The best way to find the right part is to consult with your HVAC provider. They can help you get the right part that will fit your heat pump system properly, and they may even offer professional installation services.
When you’re looking for part replacements, it’s best to stick with the same brand as the one already installed in your system. This ensures that the part is designed to the specifications of your existing unit and that it will fit properly. It also guarantees that the part is compatible with your system’s existing wiring, saving you time and money in the long run.
After you’re sure that you have the right part, you’ll need to inspect it and make sure that it hasn’t been damaged in shipping. Check the seals, the wires and the connectors to make sure none of them have become loose. If the parts are incompatible with each other or something is damaged, you may want to seek a replacement.
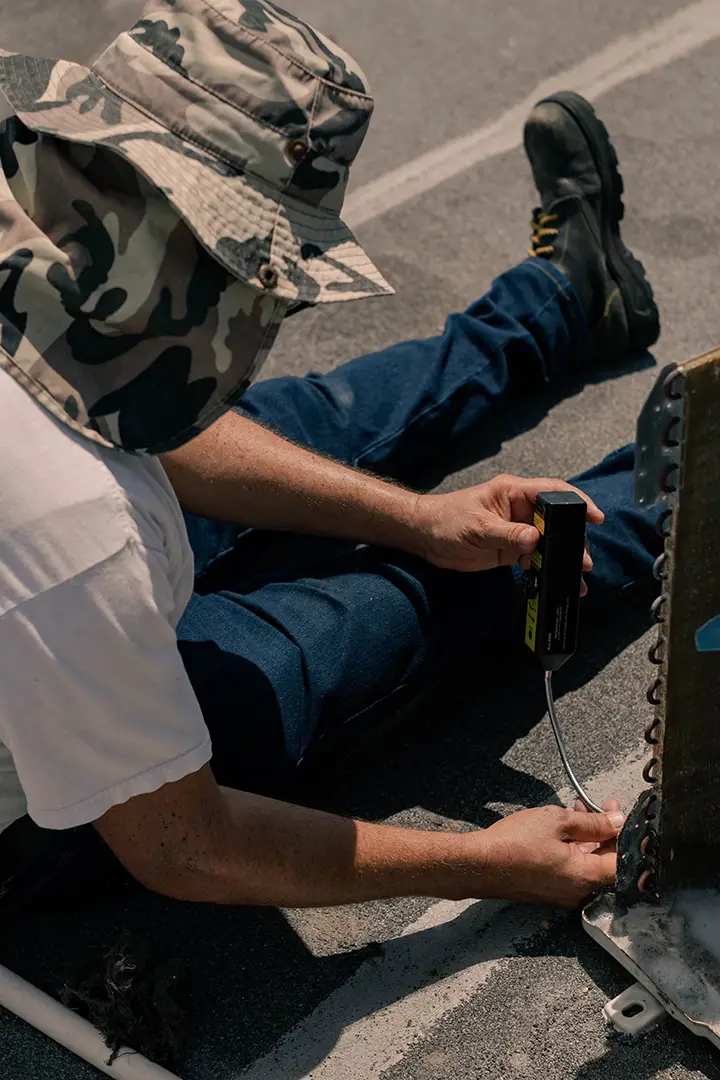
In some cases, your HVAC provider may be able to install the part for you. If not, always remember to follow the manufacturer’s installation instructions for safety and for best results. Before you begin the repair, ensure that you turn off the power to the unit and that you disconnect it from the power source.
Replace your heat pump parts with the confidence knowing you have the right part and the knowledge to install it properly. To find the parts you need at a competitive price, check out our Appliance Parts Suppliers today!
Common Questions About Heat Pump Part Replacement
- What types of parts should I expect to replace in my heat pump?
Common parts that may need to be replaced in a heat pump include the compressor, expansion valve, fan motor, and condenser coils. Additionally, refrigerant, insulation, wiring, and capacitors can also need to be replaced over time.
- How often should I expect to replace parts in my heat pump?
The frequency of heat pump part replacement depends on a few factors such as the type of heat pump, environment it is subject to, maintenance and repair history, and quality of the original components. Despite these variables, typically, parts should last between 10-18 years.
- What can affect the lifespan of parts in my heat pump?
Regularly maintaining your heat pump can help to prolong the lifespan of the parts. Ensuring the unit is running with the correct amount of refrigerant and kept free of dust and debris can also contribute to a longer parts lifespan. Poor temperature control and lack of repair and maintenance can lead to an earlier need to replace components.
- How much does it cost to replace heat pump parts?
The cost of heat pump part replacement can vary greatly depending on the type of part that needs to be replaced and the complexity of the installation. A budget should generally be prepared in the range of $200 to $800, however, larger repairs and replacements can start as much as $2,000 or more.
- What is the best way to know when it’s time to replace a component in my heat pump?
A qualified HVAC technician should always be consulted when considering heat pump part replacement. During a regular maintenance visit, a technician will be able to inspect the parts and provide an assessment of the their condition and when they may need to be replaced.
5 Key Takeaways from “Heat Pump Part Replacement Demystified”
- Consult with your HVAC provider to get the right part for your heat pump system.
- Stick with the same brand as the one already installed in your system to guarantee a proper fit.
- Inspect the parts upon receipt and check for any damaged seals, wires or connectors.
- When replacing parts, ensure the power is off and the unit is disconnected.
- Follow the manufacturer’s installation instructions for safety and best results.